This is the second and final part of Serverless CI. In the previous post I walked us through setting up an AWS CodeBuild job which allocates a server, runs your build job and then deallocates it on demand. In this post we are going to walkthrough creating an AWS CodePipeline job which would automate these build jobs on code check ins and we will also touch on other options of triggering this pipeline.
What is AWS CodePipeline?
AWS CodePipeline is a way to automate your release process, through this managed service from AWS you can visualize and create modular steps for the build and deploy processes while integrating with a plethora of services like AWS Lambda, CloudWatch, CodeBuild, CodeDeploy, Beanstalk etc.
The below diagram should give you a picture of a simple flow for a possible AWS CodePipeline setup:
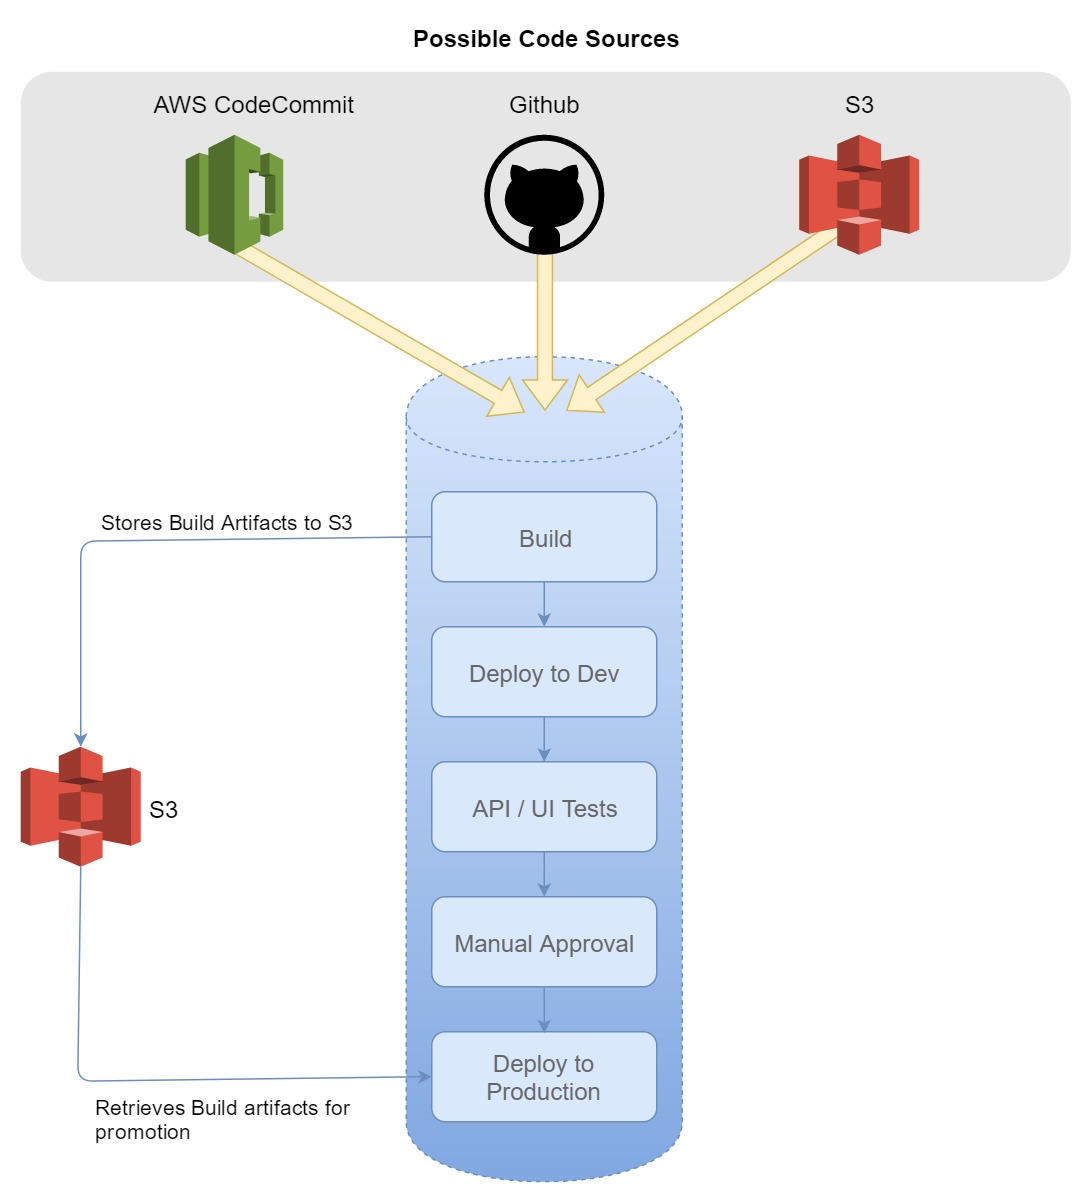
Note that you can also have vastly more complex flows like parallel executions of steps, invoking Lambda functions to take decisions on the basis of live data etc.
Let’s setup a Pipeline!
What are we going to do:
- We are going to setup a listener to the master branch of a GitHub repo, it is important to take the same repo as the one which your AWS CodeBuild job is using which you created from the previous post in this series or whatever job you might already be having. I am using this Github repo.
- There is going to be a manual approval step which a person who has the rights to do so can go ahead and ‘Approve’ or ‘Reject’.
- We are going to add a conditional prod promotion step which will promote the app to another environment if the approval is received.
Pre-requisites
In the walkthrough which this sections precedes I’m going to assume you already have the CodeBuild job setup from my previous post with all the roles and permissions in place, if you already know AWS CodeBuild you can still go through the walkthrough while swapping things as you have it with little difficulty.
Creating the promotion job
Assuming you already know CodeBuild, I will quickly run through on how to create a promotion job.
Step 1: Modify the code to include promotion scripts
Open your project which you are building through CodeBuild with your favourite IDE (I use VS code), I will be using this repo I created for the blog.
Add a file called promotion.sh and in the same paste the following code:
npm install -g serverless

serverless deploy --stage $env --region us-east-1 --verbose
Assuming the code is already built and packaged in the build step, we will simply be pushing that along to another environment via the serverless framework. Notice that the script pushes it to an environment whose name it expects in an environment variable env, we will define this in the next step.
In order for this simple script to work, you must modify the buildspec.yml and include all the necessary files needed for the next step in the artifacts section like so:
....

artifacts:
files:
- serverless.yml
- publish.zip
- promotion.sh
discard-paths: yes
Artifacts are basically what the build job will preserve in a S3 bucket which will be fed as input to all subsequent steps in the CodePipeline which we will see later.
Step 2: Create your promotion CodeBuild job
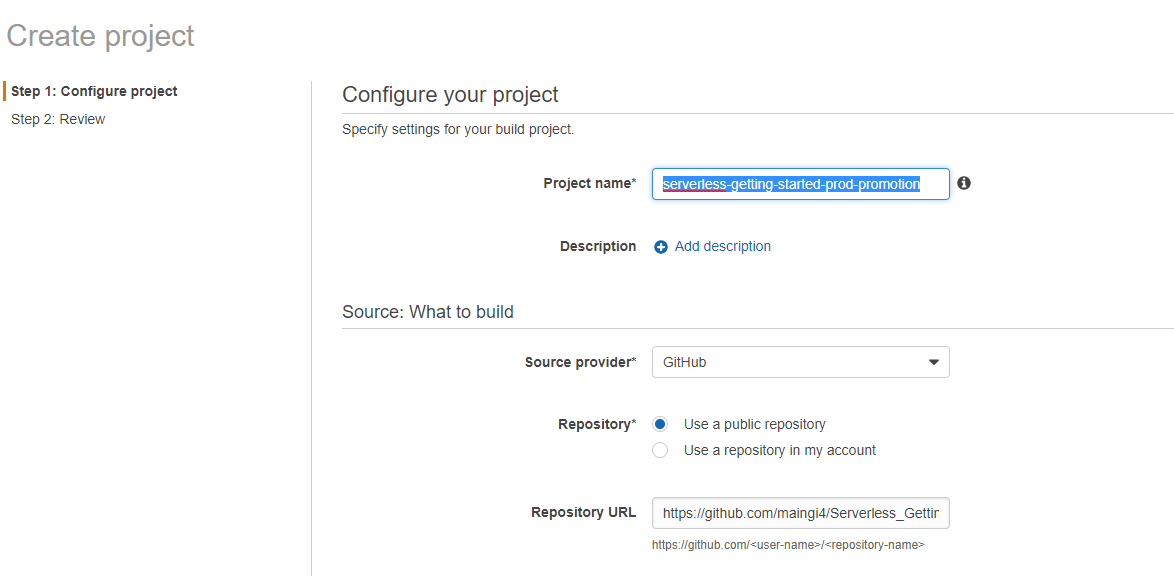
Go to the AWS console’s CodeBuild page and click on Create Project.
Type in a relevant name e.g. serverless-getting-started-prod-promotion & fill in your repository details:
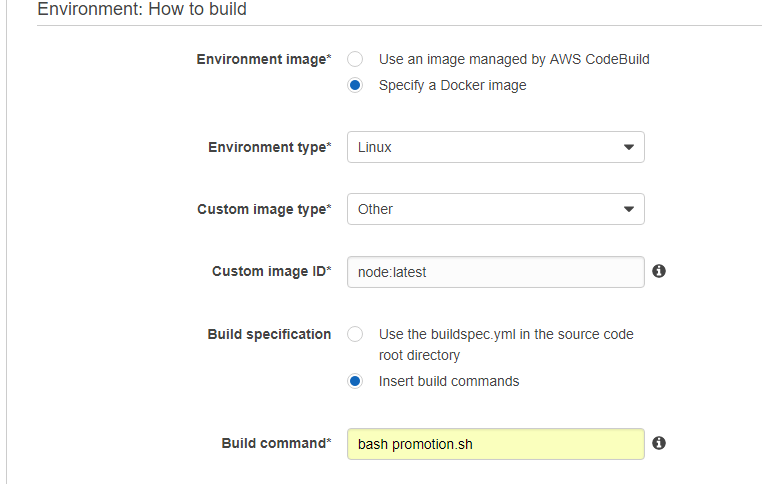
Choose node:latest as the docker image (we only need node for the serverless framework, our app is already built by now). Choose insert build commands and type in bash promotion.sh which would run the previously written promotion script in the bash shell:
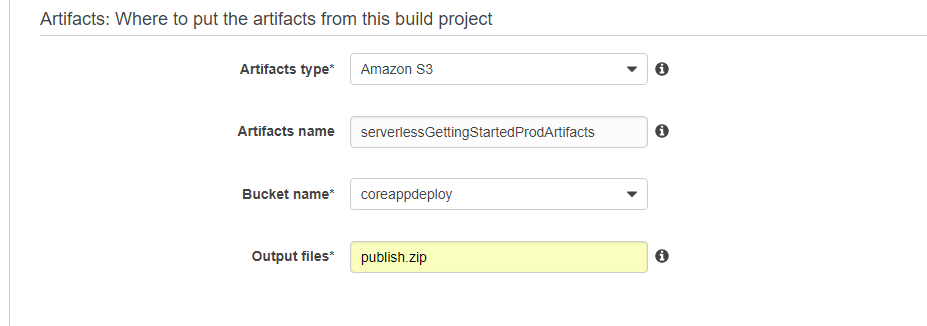
(Optional) Choose S3 as the artifacts storage, give a name for the folder in S3 where you would find the artifacts for this job and type in publish.zip in the Output files section after choosing the coreAppDeploy bucket that we had created in the first part of this series. You should choose the same bucket as where your build job is storing its artifacts as a practice to easily find them later, its not compulsory though.
Choose your existing role which we created for the build job, make sure you uncheck the checkbox where AWS asks you to allow it to modify the role, our role has everything it needs.

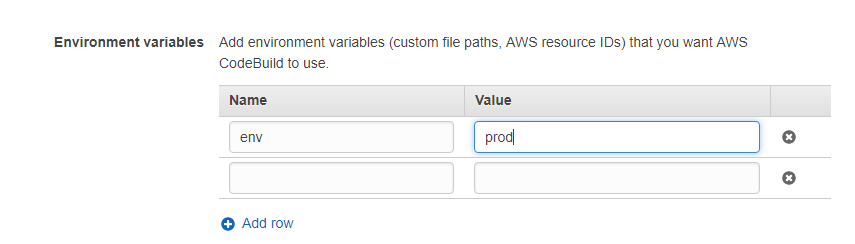
Open the Advanced section, and enter environment variable as env key with prod as value, this will define the name of the environment which we will be promoting to.
Click on Continue, review and Save the build job. Note that this job cannot run on its own as it will never find the deployment artifact (publish.zip), this will only run as part of the Code pipeline that we will create next.
Step 3 Create the Pipeline
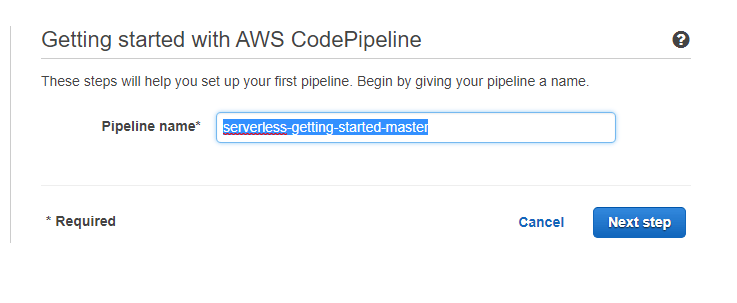
Go to the AWS CodePipeline part of the console and click on get started if you don’t have a pipeline in the console or simply click on the create pipeline button if you have other pipelines already.
Enter a name for the pipeline like serverless-getting-started-master where master denotes the branch its listening to.
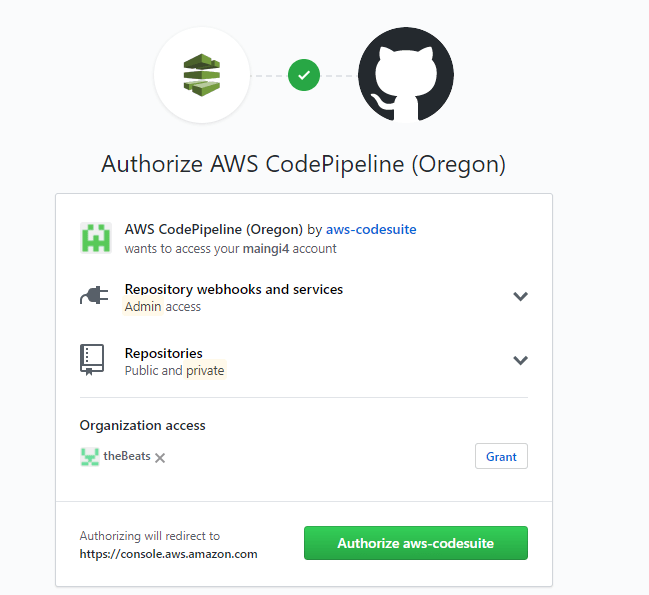
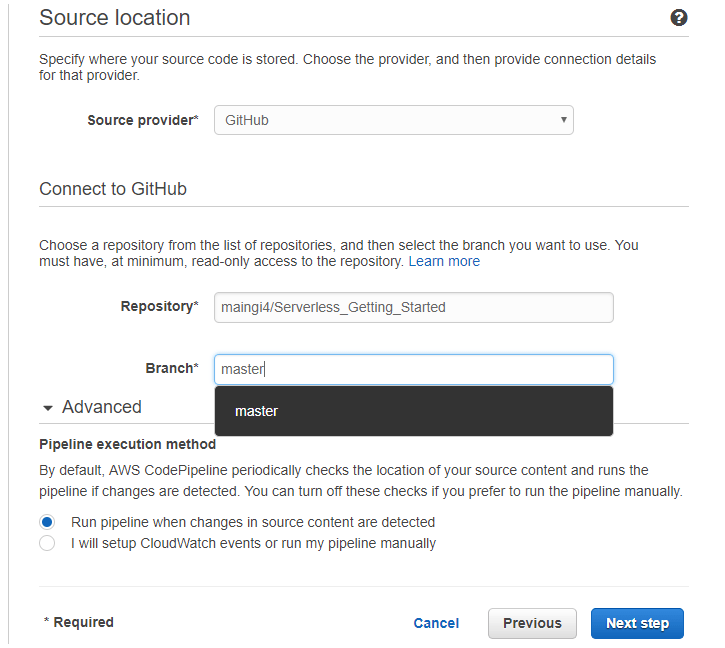
In the next step, choose Github as your source provider, then click on Connect to GitHub if you are not connected already. In the GitHub OAuth page, make sure you click on the Organization name if your repository lies inside an organization on GitHub (and is private) instead of my example where I am using a public repo.
GitHub OAuth page:
Select the master branch or whichever you want CodePipeline to be triggered from if any change occurs:
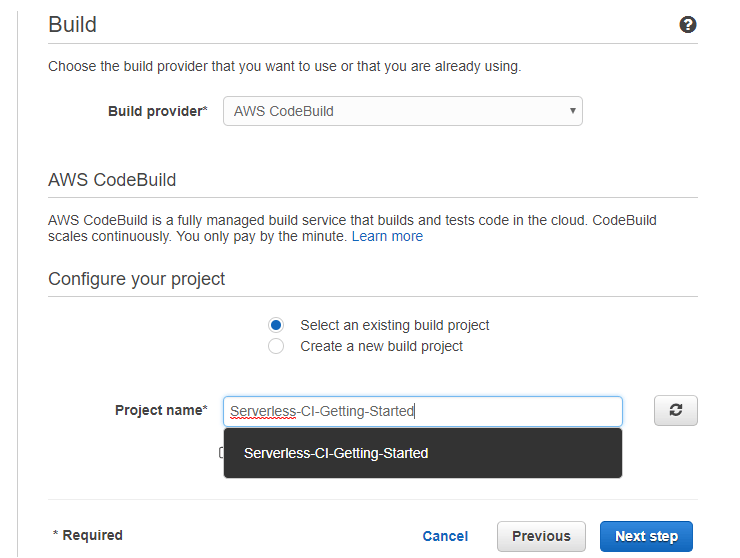
Select AWS CodeBuild as the build provider and choose our build project that we had created in the first article of this series:
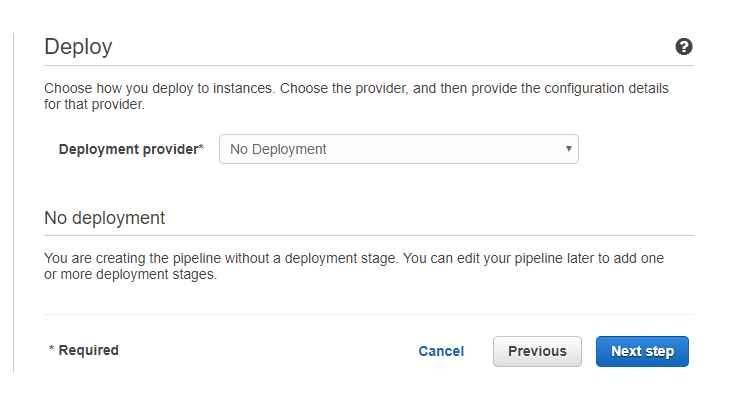
Choose No Deployment in the next step, we will modify the pipeline later to use the promotion CodeBuild job that we have created in the previous step:
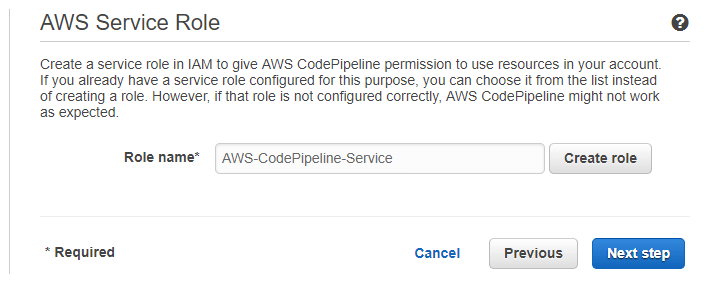
Select a role for the pipeline or click Create Role for a short and sweet wizard to create it right there and then:
Review the pipeline and save it.
Step 4: Edit and Complete the pipeline
Click on the Edit button on the pipeline page.
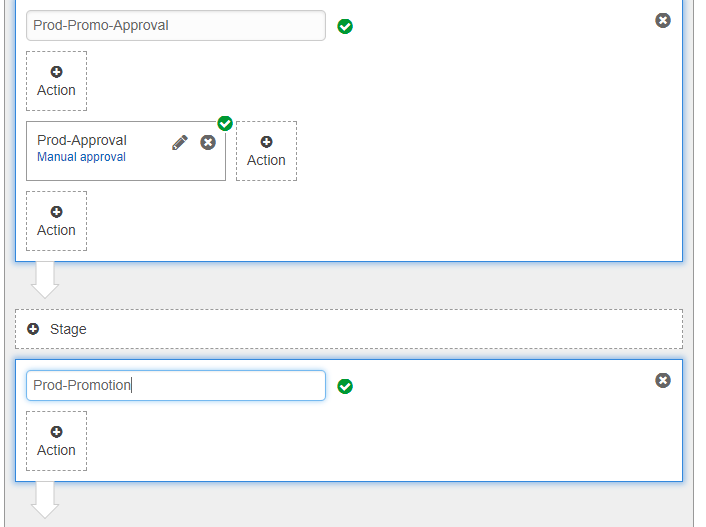
Click on Add Stage after the Build Stage and enter Prod-Promo-Approval as the stage name, names of these stages cannot have special characters or even spaces:

Note that each stage here can have multiple parallel steps and all must execute in order to reach the next stage of execution in the pipeline.
Click on Add Action, choose Approval from the dropdown in the side pane that opens up, proceed to choose Manual Approval after giving the action a name.
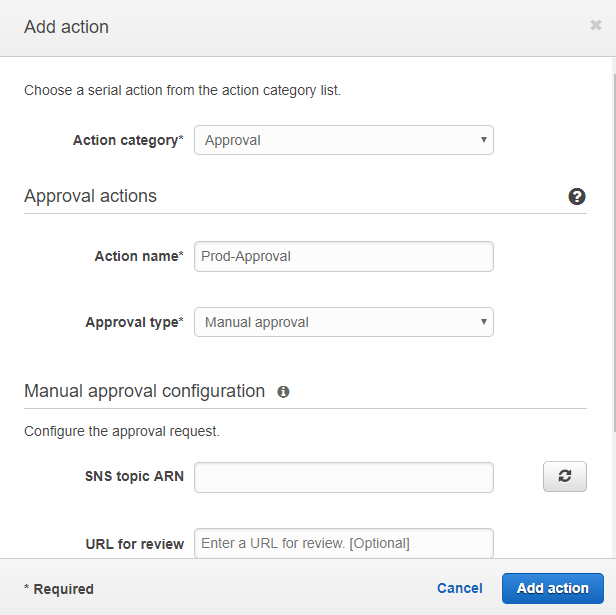
You should also select a SNS topic in the real world here so that the approvers can get notified that a promotion approval is pending for review.
Also note that there is a specific permission for Pipeline stage approvals that you can give to specific IAM users in AWS to prevent anyone from approving, I will skip that step in this tutorial for simplicity sake.
Add a stage for Prod-Promotion and proceed to click on Add Action:
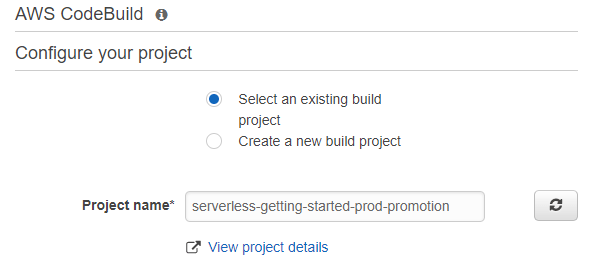
Choose the Build category, give the action a name and choose AWS CodeBuild

Select the promotion build job that we had created previously:
Select MyAppBuild in the Input Artifacts textbox, this will make the job get the artifacts from the build job instead of the full source code:
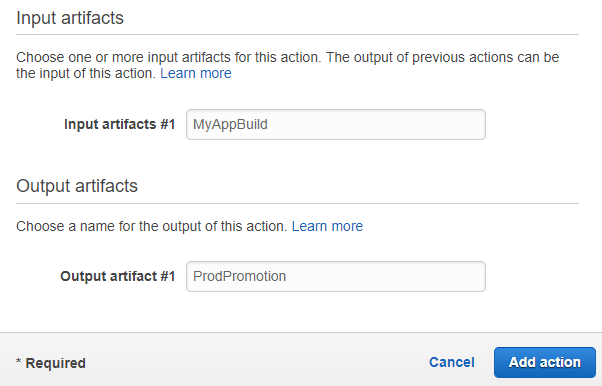
Add the action and save the pipeline.
Step 5: Release and approve the promotion
Your pipeline is already ready at this point and will get automatically activated whenever a code checks into the branch that you configured it against.
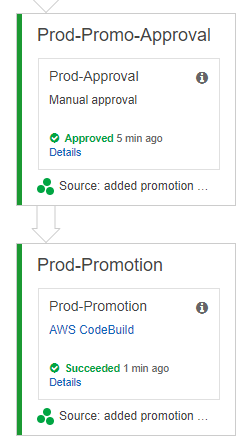
You can manually trigger the pipeline by clicking on Release Changes, I did just that and my pipeline stopped after Build as expected on the manual approval step:

The approver at this stage clicks on the Review button of that stage and Accepts or Rejects the promotion:
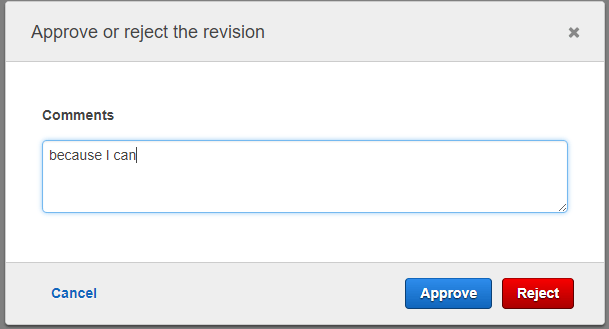
If it is rejected, the pipeline stops, if not, promotion occurs as it did for me:
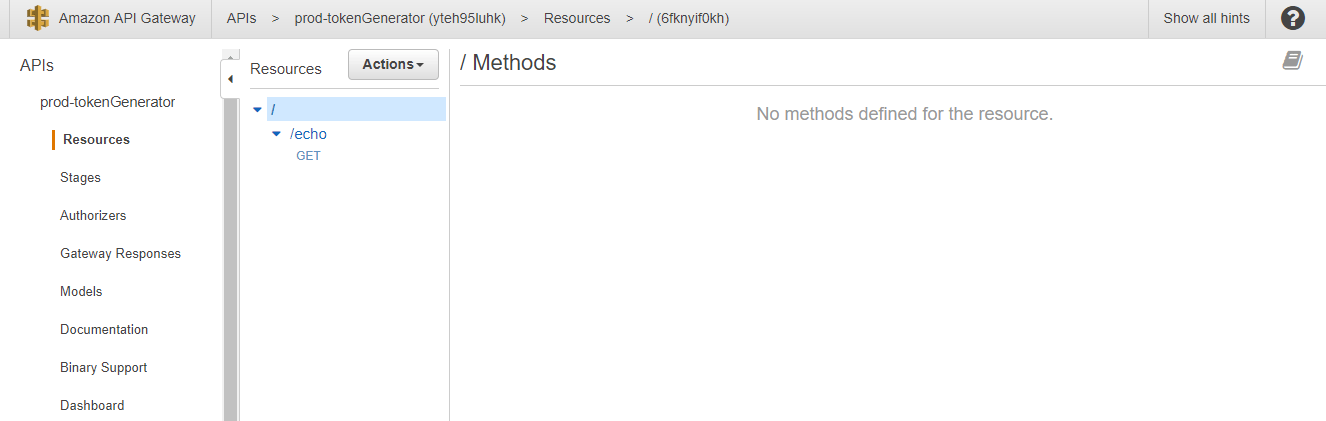
Just to make sure everything worked, head over to the API Gateway
Step 6: Cleaning up
CodePipelines are free for one month and ‘Active’ pipelines cost $1/mo where the latter is active if it ran at least once in a given month.
- Delete the pipeline
- Delete the promotion job
- Follow the detailed cleanup steps in the previous article
- Delete the CodePipeline role that you created
- Remove the serverless code by running the following two commands from your local machine (you must have the necessary AWS credentials setup on your machine)
serverless remove --stage dev --region us-west-2

serverless remove --stage prod --region us-east-1
Make sure to change the regions and stage names to whatever you had given before.
If you liked this article, you can choose to follow this blog/subscribe to email alerts (floating follow button {bottom-right} or below comments in mobile) so that you know when any future posts come about.


Just wanted to say, this is a really good guide. I had been trying to set up a pipeline on AWS and this series really helped.
I ended up having to extend this to create a CI/CD pipeline for a Serverless Framework app with multiple services. We wrote about it here – https://seed.run/blog/how-to-build-a-cicd-pipeline-for-serverless-apps-with-codepipeline-and-codebuild
Hopefully somebody else finds it useful!
LikeLike